Written by Chris
Imagine turning a digital idea into a gleaming acrylic display box, all with your phone! The SainSmart Wireless Module for your Genmitsu CNC router unlocks a world of creative possibilities. This guide will show you how to pick a design and use a Genmitsu APP (which is a GRBL based app) to bring your vision to life.

Gear Up for Creation:
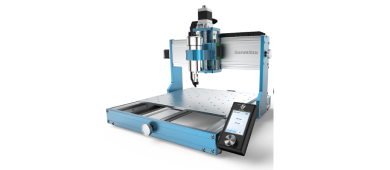
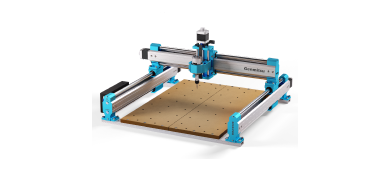
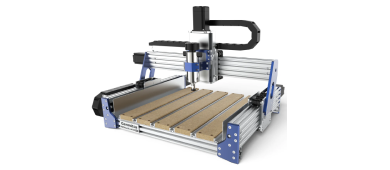
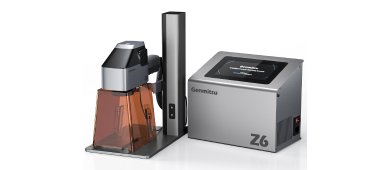
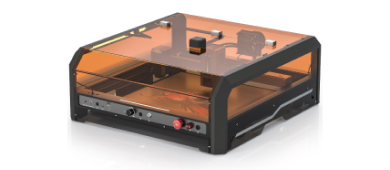
- Genmitsu CNC Router:Make sure you've installed the SainSmart Wireless Module following the kit instructions ( check your model # to verify machine compatibility).
- Smartphone/Tablet: Download a GRBL sender app Genmitsu to turn your device into a mobile command center.
- Acrylic Sheet:Pick a size and thickness that works for your display box design.
- Double-Sided Tape:This will hold the acrylic sheet onto your CNC machine's work surface.
- Acrylic Cement (Optional):This creates a polished look by bonding the display box corners together.
- Safety Gear:Safety glasses and a dust mask are a must!
Choosing your Box Design:
- Websites like Thingiverse offer tons of free and paid CNC designs. Search for "acrylic display box" designs that fit your acrylic sheet size and your Genmitsu CNC router's work area.
- Look for files in .gcode format for smooth use with your Genmitsu app. Some might be in .dxf or .svg formats. If so, free software like Fusion 360 or Inkscape can convert them to .gcode.
Bridging the Gap: Wireless Connection
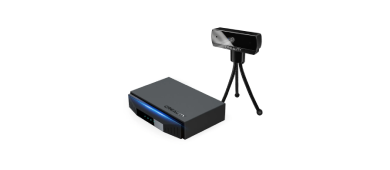
- With the SainSmart Wireless Module on your Genmitsu CNCs, follow the kit's instructions to connect to your Wi-Fi network.
- Download your chosen Genmitsu app on your phone/tablet.
- Open the app and follow the on-screen guide to connect to your CNC machine's Wi-Fi network. This creates a communication link between your device and the CNC machine.

Load Up and Prep Your Design:
- In Genmitsu app, find the "Open File" or "Load Design" option.
- Pick the location where you downloaded or saved your .gcode display box file.
- The app will show the design on your phone's screen. You can zoom in to check all the details.

Securing the Acrylic and Setting Up the Job:
- Place the acrylic sheet on the CNC machine's work surface and secure it. Make sure it's level.
- Important! Check your Genmitsu CNC router manual and the .gcode file notes (if any) to find the right feed rate and spindle speed for cutting acrylic. These settings depend on your machine's power, the acrylic sheet thickness, and the cutting tool you'll use.

Safety First! Double-check all connections and wear your safety gear before starting.
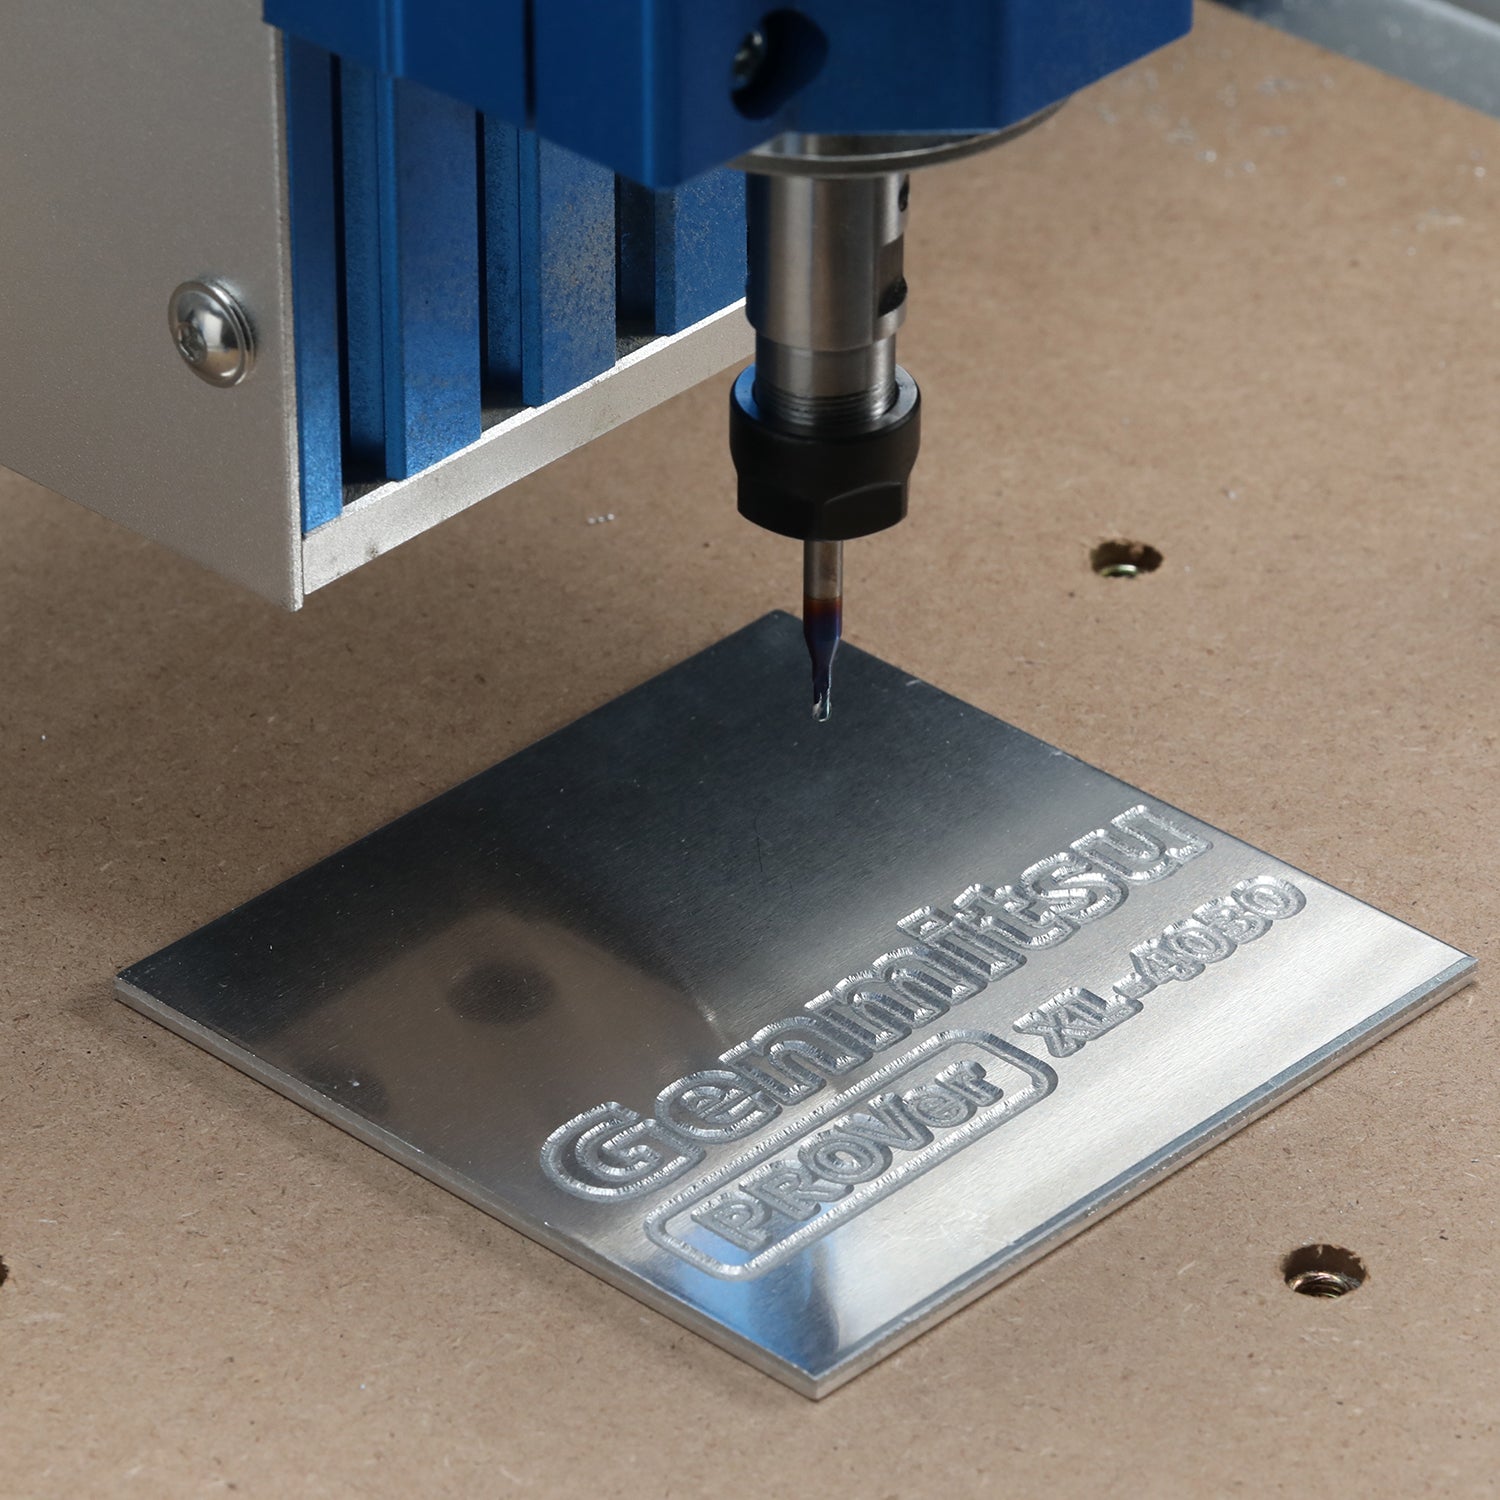
- Once everything is set and secure, it's time to bring your design to life! In the Genmitsu app, find the "Start" or "Run" button (might have a slightly different name). Tapping this button will start the cutting process, transforming your digital design into a real masterpiece.
- Monitor and Enjoy! Thanks to the magic of wireless control with the SainSmart Wireless Module, you can watch your creation come together from your phone. Celebrate the freedom of wireless CNC control and the beauty of your design taking shape!
Finishing Touches (Optional):
- Once cutting is complete, carefully remove the display box from the CNC machine's work surface.
- You can use sandpaper to smooth any rough edges.
- For a polished look, use acrylic cement to create seamless joints at the corners of the display box.

Congratulations! You've built a fantastic acrylic display box using wireless CNC control. Embrace the creative freedom this technology offers and explore the endless possibilities of desktop CNC machining!